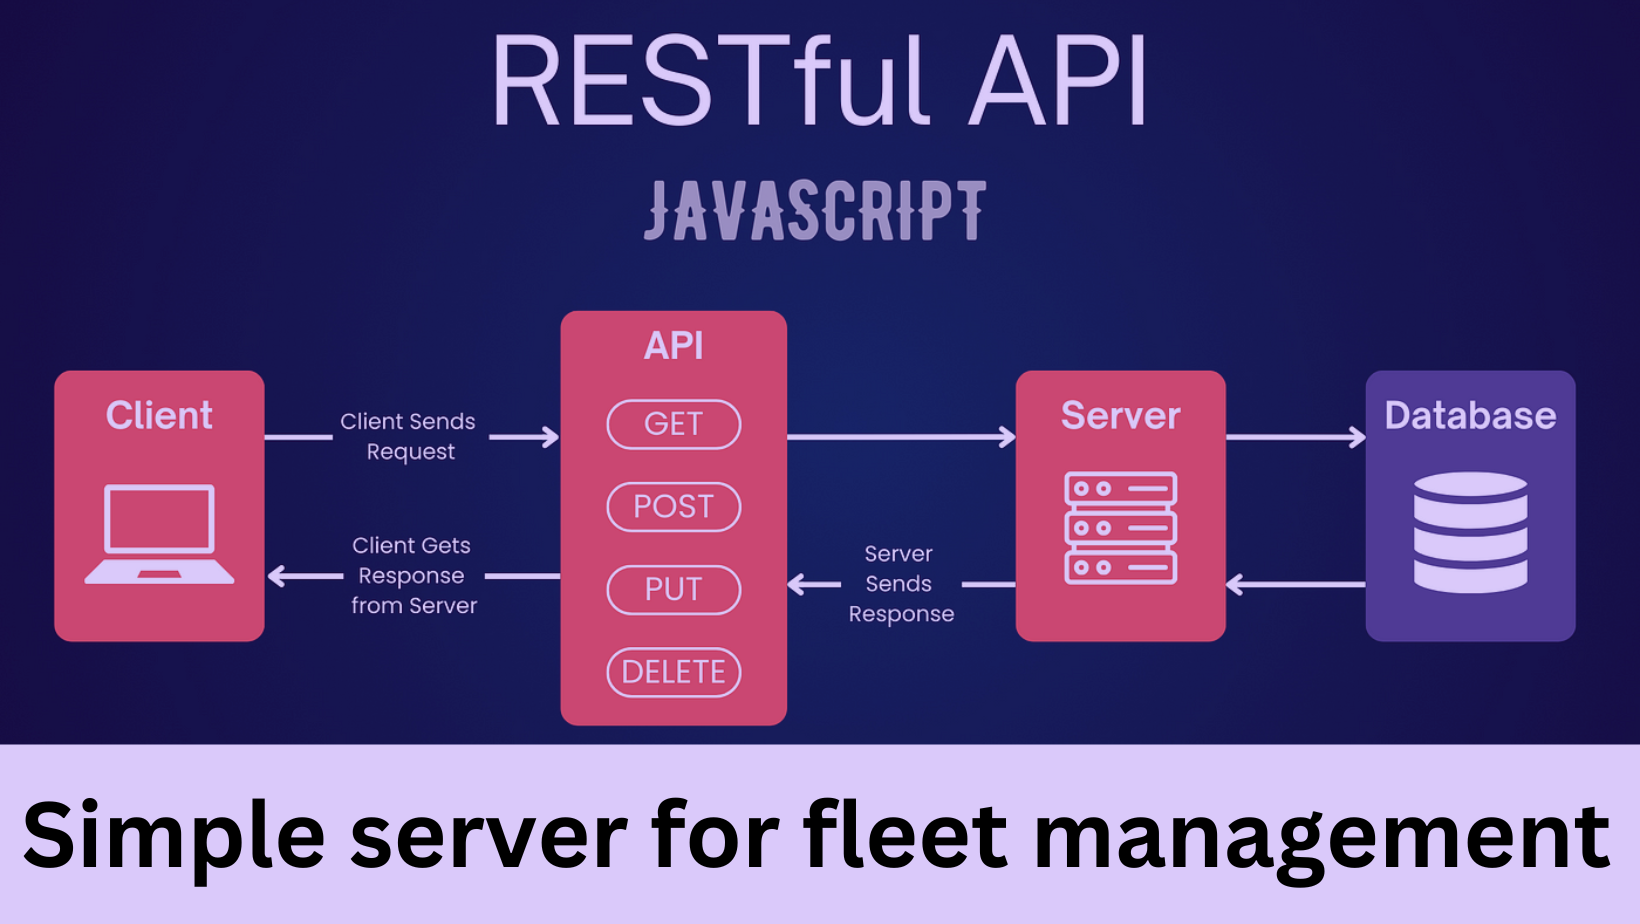
Simple server for fleet management
Hello People. This article gives you information about adding simple server for fleet management.
If you want to create a sample Express application with a local database, you can use Node.js along with a database like SQLite for simplicity. SQLite is a lightweight, file-based database that is easy to set up for local development. Here's a step-by-step guide to help you get started.
Step 1: Set Up Your Project
Create a new directory for your project
mkdir express-sample cd express-sample
Initialize your project with npm
npm init -y
Step 2: Install Dependencies
Install the necessary dependencies - express for the web server and sqlite3 for SQLite database:
npm install express sqlite3

Step 3: Create an Express App
Create a file named app.js and set up a simple Express application:
const express = require('express');
const app = express();
const port = 3000;
app.get('/', (req, res) => { res.send('Hello, this is your Express app!'); }); app.listen(port, () => { console.log(`Server is running at http://localhost:${port}`); });
Step 4: Set Up SQLite Database
Modify app.js to include SQLite database integration:
const express = require('express');
const sqlite3 = require('sqlite3').verbose();
const app = express();
const port = 3000;
// Connect to SQLite database
const db = new sqlite3.Database('./sample.db');
// Create a simple table
db.serialize(() => { db.run('CREATE TABLE IF NOT EXISTS users (id INTEGER PRIMARY KEY, name TEXT)'); });
app.get('/', (req, res) => { res.send('Hello, this is your Express app with SQLite!'); });
app.listen(port, () => { console.log(`Server is running at http://localhost:${port}`); });
Step 5: Run Your App
Run your application:
node app.js
Your Express app with SQLite integration should be running at http://localhost:3000. You can test it by visiting this URL in your browser.
Step 6: Interact with the Database
To interact with the database, you can create additional routes in your Express app. For example:
app.get('/users', (req, res) => { // Fetch users from the database db.all('SELECT * FROM users', (err, rows) => { if (err) { console.error(err.message); res.status(500).send('Internal Server Error'); } else { res.json(rows); } }); });
Now, when you visit http://localhost:3000/users, you should see the JSON representation of the users in your database.
Remember that this is a basic setup for local development. In a production environment, you might want to consider using a more robust database solution like PostgreSQL or MySQL and add additional security measures.
Hope this article on Simple server for fleet management is useful to you. Please read Kia electric car showrooms in Asansol


