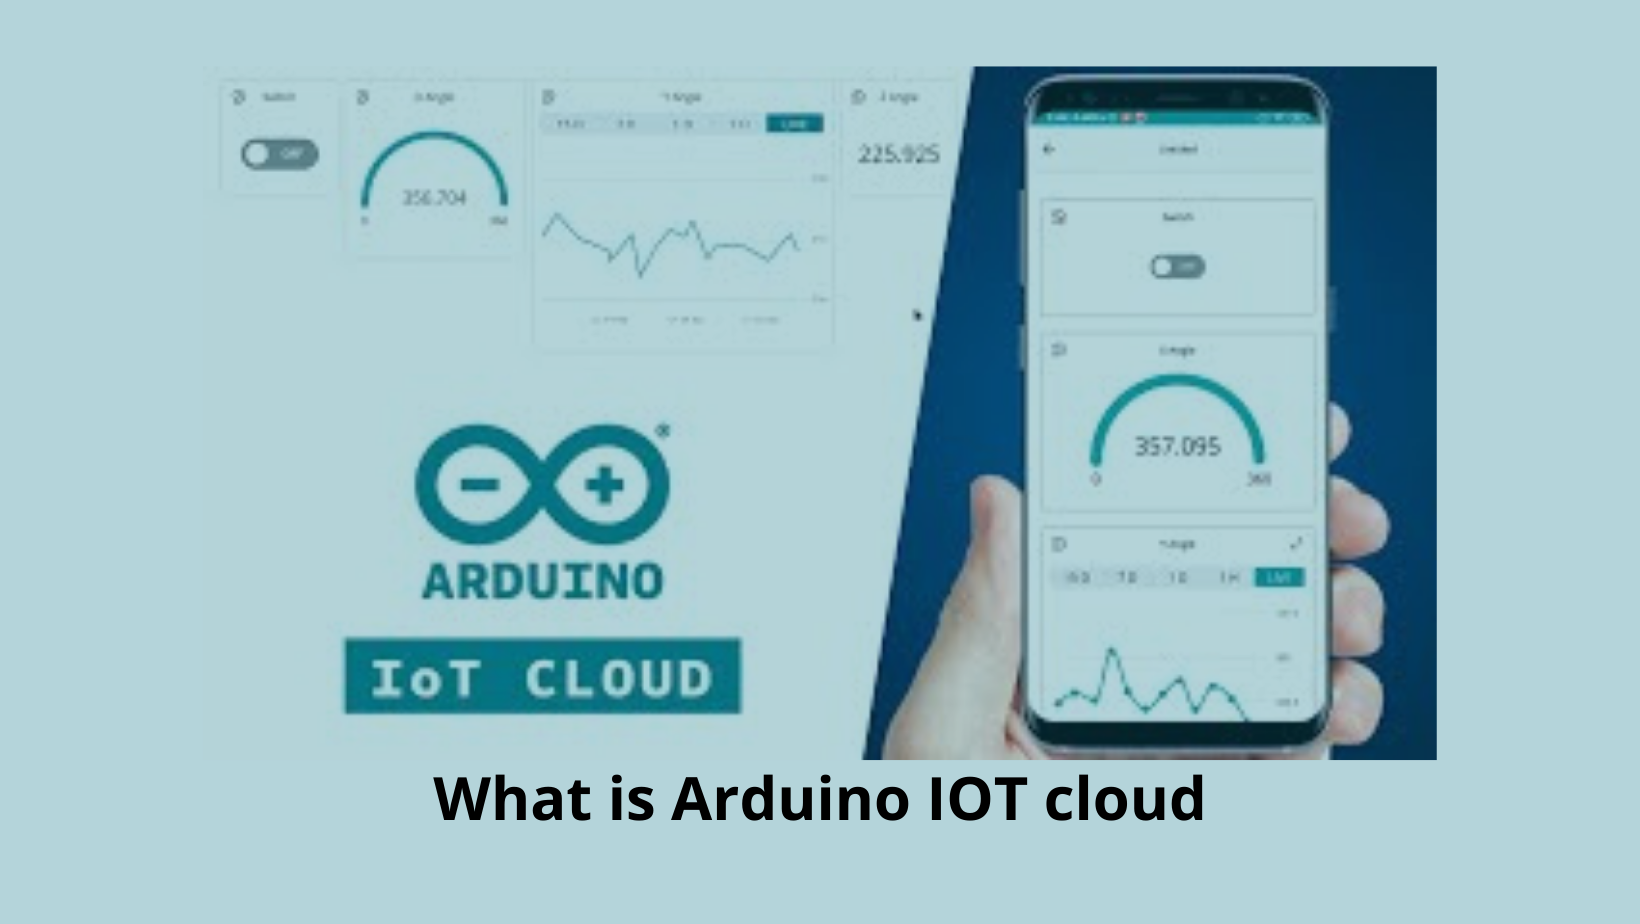
What is Arduino IOT cloud
Hello People. This article gives you an idea on what is Arduino IOT cloud. Arduino IOT cloud is a platform for building IoT devices using Arduino and other microcontrollers.
Arduino IoT Cloud allows you to use your existing Arduino expertise and create your own IoT devices. In order to make use of the cloud, you’ll first need to understand a bit of its unique terminology.
Things
The basis of all Arduino IoT Cloud projects is the “Thing”. A Thing is a virtual object that resides within the cloud. It is used to securely hold variables and information regarding connected devices and networks.
You will create a Thing for every project you create inside the cloud, using an online Thing editor. Your thing will consist of a mixture of Variables, a Device, network information, and a Sketch.
Networks
You will need to configure your Thing with your network connection information. For most devices, this will be your WiFi credentials, your SSID, and password.
Some third-party devices will also require an additional “secret key”, which will be generated by the Arduino IoT Cloud editor when the device is added. This secret key is entered along with the network information.
Are you looking to start your business in the electric vehicle industry? We provide software development, web application development, mobile application development, charging stations management app, electric vehicle fleet management software development, cyber security and all software services. Please check our home page here https://iwheels.co/
Ok. Let's get back to the article.
Devices
Devices are simply microcontrollers that connect to the cloud. These can be certain Arduino microcontrollers, as well as a few third-party boards like the ESP32 and ESP8266.
Some of the supported devices are as follows:
- Arduino Nano RP2040 Connect
- Arduino Nano 33 IoT
- Arduino MKR 1000 WiFi
- Arduino MKR WiFi 1010
- Arduino MKR WAN 1300 (with Arduino PRO Gateway LoRa)
- Arduino MKR WAN 1310 (with Arduino PRO Gateway LoRa)
- Arduino MKR GSM 1400 (with SIM card)
- Arduino MKR NB 1500 (with SIM card)
- Arduino Pro Portenta H7
- Espressif ESP8266-based boards
- Espressif ESP32-based boards
Variables
Variables are the key to getting your IoT applications to work, as they are available to both your attached device and to any other devices or dashboards you are using.
You define your variables when you build your Thing, you also get to choose if they are Read & Write or Read Only, and if they should synchronize with other cloud variables in other Things which you have constructed.
The “cloud variables” have many, many types that you can use to define them. Aside from the “basic” types that we all know, like booleans and integers, there are also specialized types like Temperature, Velocity, and Luminance.
Sketches
Sketches, as all Arduino users know, is the term used for the C++ programs that we write for the Arduino and ESP32 boards. And you will need to create a sketch for the device associated with your Thing.
One great feature of the Arduino IoT Cloud is that when you build a new Thing, the majority of your sketch is written for you automatically. All you need to do is fill in the bits that make the variables you have defined come into action.
You can edit your sketches in two different ways:
- Directly within the Thing editor.
- Using the more advanced Arduino Web Editor.
For basic sketches, either way will work fine. If you want to include libraries and other dependent files in your sketch, then you’ll want to use the Web Editor instead.
All of your sketches will be saves online to your Arduino account. You can also download a copy of your sketch in a ZIP file when you use the Web Editor.
Dashboards
You can build a dashboard by dragging widgets onto a working surface. You link the widgets to appropriate cloud variables, and then you label them and (on some of them) set their parameters.
Your dashboard can then be displayed on a web browser. You can also use the Arduino IoT Remote app on your Android or IOS device.
Getting Started with the Arduino IoT Cloud
So now that you have a good idea as to what the Arduino IoT Cloud is and what it can do, you’ll likely want to get started using it. You’ll need to get a few things prepared first.
Cloud Plans
The first thing you will need to do is create an Arduino account and select a cloud plan.
You might already have an existing Arduino account if you’ve purchased from their online store or have participated in their forums.
Either way, head over to the Arduino Login page, where you can either sign in or create a new account. Creating a new account is free.
Once you are in, you’ll want to head over to the Arduino Store and choose a plan. You have four to choose from:
- Free Plan
- Entry Plan
- Maker Plan
- Maker Plus Plan
By default, your account will be set up on the Free Plan, which is sufficient for beginners. However, for more practical projects you’ll need to subscribe to one of the higher, paid plans.
Hope this article gave you an idea about What is Arduino IOT cloud. Please read IOT project using ESP8266 Web Server